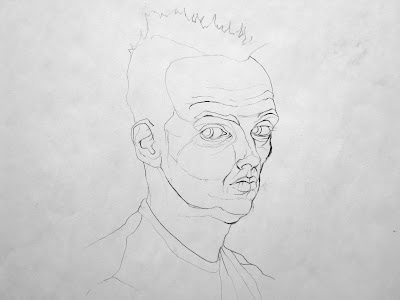
From Intercross to Value
1) Intercross is established (high point, low point, furthest left and right and the angles between them).
2) The initial intercross "kite" shaped envelope is then broken down with more angles. These new points are then compared to the old points (the lines shooting back and forth inside of the form). The lines on the paper are compared to the angle of the actual model by holding up a pencil or string.
3) Before proceeding further a box is placed around the figure. A string or pencil is used to measure the total width and height of the figure (the box is defined by the initial four intercross points). The box could also show up on the previous step as well but either way it should show up before too much detail has gone into the drawing. This will assure that the scale of the model is correct overall. Some more angles are found on the figure including the negatives space under the arms.
4) A unit of measure further confirms the proportions of the drawing. Here 1 head height fits an additional 3 and a quarter times into the rest of the figure. One head down gets to the elbow and so on. These measurements should be checked with string or pencil from the model or object being drawn.
5) Additional angles show up to carve out the more exact "envelope" of the figure
6) All of the initial process marks are knocked back somewhat to clarify the envelope.
7) 3 value restricted tone begins. I'm using 2 values inside of the figure as I am considering the white background to be the 3rd tone. Note how loose and not fussy everything has been so far. Keep it basic.
8) The complete figure in 3 values.
9) The middle third of the figure is then rendered in 5 values (the top portion still left with 3 values).
10) The bottom of the figure is rendered without consideration for restricting tones. However remember that dimension is created through contrast. The danger in infinite value is that we loose contrast by smoothing out the transitional values too much - muddying the waters. Each phase of value should show structure, depth, dimension and clarity of form.


%20-drawing_detail1494.jpg)
Comments